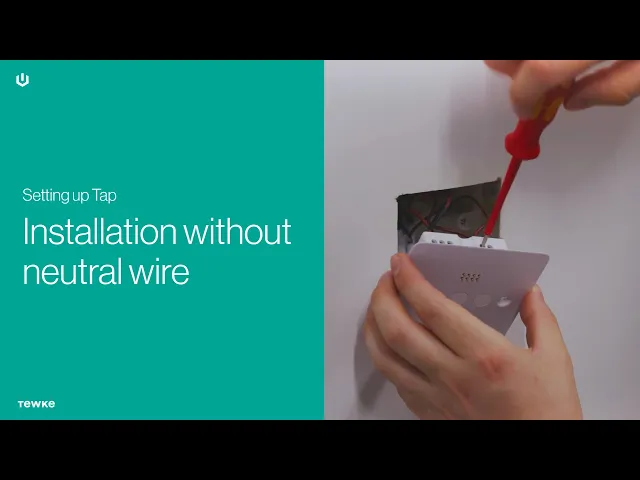
Installation without neutral wire
Many UK homes don’t have a neutral wire at the light switch. Tap is designed to work in them too. If you do have a neutral at your switch, follow our guide to installing Tap with a neutral wire instead. Not sure which you have? Step 2 shows you how to check.
Safety first. Tap connects to your home’s mains wiring. If you’re not comfortable doing this yourself, we recommend using a qualified electrician. If you’re unsure where your circuit breaker is, stop here and ask a professional.
What’s different without a neutral?
A neutral wire lets your bulbs reach full brightness and gives you the widest choice of light fittings. Without one, Tap still dims and switches your lights beautifully, but there are a few things to know:
Your first light circuit (L1) needs a minimum load. It must have at least 20W of dimmable load. In practice, that’s four or more dimmable LEDs (for example, four 5W bulbs), or an incandescent or halogen bulb.
L1 needs dimmable lights. Non-dimmable LEDs, including non-dimmable LED filament bulbs, won’t work on L1.
Bulb choice matters more. Check your bulbs against our compatibility guide before you start.
Before you begin
What you’ll need
Your Tap (Frame, Wall Dock and Screen Module): make sure all three components are present before starting the installation
A screwdriver
The connector supplied with Tap, or a short length of wire
Your phone, for taking a photo of your wiring
Screws: your existing ones, or the supplied M3.5 × 50mm screws
Your wall box
Tap fits a standard UK single-gang pattress box. A 35mm deep box is recommended, though a shallower box can work with some adjustments.
Your lights
Tap can’t control CFL or fluorescent bulbs, wire-wound transformers, or inductive loads, such as fans. Connecting a wire-wound transformer can damage your Wall Dock. If you’re not sure what you have, check our bulb and driver compatibility guide (link) before you start.
Power limits
Each of Tap’s three light circuits can carry up to 100VA, with 300VA in total. To work out VA, divide your bulbs’ wattage by their power factor (you’ll find this on the bulb’s datasheet). For example, 60W ÷ 0.8 = 75VA.
Step 1: Switch off the power
Turn off the circuit breaker for the lighting circuit you’re working on.
Step 2: Check your wiring
Unscrew your existing switch and check whether there’s a neutral wire. If there is, use our with-neutral guide instead. If you’re unsure which wire is the neutral, ask an electrician or contact Tewke support.
Before you disconnect anything, take a photo of the wiring. It makes reconnecting much easier.
Step 3: Check your lights
This is the extra step for no-neutral homes. Look at the lights on the circuit that will connect to L1 and check:
They add up to at least 30W of dimmable load (ideally five or more dimmable LEDs), you can try using incandescent bulbs to increase the load.
Any LEDs are dimmable, ideally with a power factor above 0.7.
No circuit is over 100VA, and the total across all three is under 300VA.
If you’re not sure whether your bulbs qualify, contact Tewke support before going further. The exact minimum load can vary with the type of bulb or driver.
Step 4: Connect the Wall Dock
On the back of the Wall Dock you’ll see five terminals: Live, Neutral, L1, L2 and L3.
Link Neutral and L1. Use the connector supplied in the Wall Dock box or a short length of wire. This is the key step for a no-neutral install.
Connect your wires. Connect your permanent live to Live, and your switched lives to L1 (and L2 / L3 if you have more than one light circuit). Leave L2 and/or L3 empty if you don’t need them.
Tighten gently. Don’t overtighten the screws, then give each wire a firm but gentle tug to check it’s secure.
Make sure to only fit one wire into each terminal. If you need to connect more than one wire to a terminal, use a Wago connector to join them together, then connect the Wago to the appropriate Tap terminal with a single wire. Attempting to fit more than wire into a Wall Dock terminal can damage the device.

Step 5: Fit the Wall Dock and Frame
Fix the Wall Dock loosely. Turn each screw 2–3 times into the pattress box, so the Wall Dock sits loosely against the wall.
Fit the Frame. Hold the Frame at a 45-degree angle and slide it around the front of the Wall Dock so it sits behind it. A little gentle wiggling may be needed.
Tighten the Wall Dock. Make sure the Frame is centred, then screw the Wall Dock into place. Take care not to overtighten the screws, as this can damage the device. If you hear a cracking noise when screwing the Wall Dock in, stop immediately, screwing it in any further risks damaging the device.
Check the fit. The Frame should sit evenly around the Wall Dock.
Switch the power back on at the circuit breaker.
Tip: If there isn’t enough slack to slide the Frame behind the Wall Dock, put in just one screw loosely, fit the Frame, then add the second screw.
Step 6: Test your lights
Before you attach the screen, check that your lights work using the physical buttons on the front of the Wall Dock.
Press a button. Each button controls one of your light circuits (L1, L2 or L3). One press should switch the lights on, and another should switch them off.
Don’t worry if only one button works. If you’re not using L2 or L3, only one button will do anything.
Lights not coming on? Switch the breaker off and check your wires are still in the right terminals and secure, and that Neutral and L1 are linked. Then check your bulbs or drivers are compatible and meet the 20W minimum load.
Good to know: It’s normal for your L1 lights to switch themselves off after a couple of seconds until you’ve finished the on-screen setup in Step 8.
If you can’t get your lights working, or they flicker unexpectedly, please contact Tewke support or a qualified electrician to check your setup before you carry on.
Step 7: Attach the Screen Module
Snap the Screen Module onto the Wall Dock. It connects magnetically and should sit neatly within the Frame. Line up the gold pads on the back of the Screen Module with the gold pins on the Wall Dock, with the speaker and sensor openings facing down.
After 6–8 seconds, the Tewke logo will appear, followed by the Wall Dock configuration screen.
You’ll then see the Wall Dock configuration screen. We’ll set that up in the next step.
Step 8: Configure the Wall Dock
Once the screen is on, you’ll see a screen called Automatic Wall Dock Setup. It detects your circuits and sets Tap up to work with your bulbs.
Press Start. Tap checks whether anything is connected to L1, L2 and L3. Your lights may flash or flicker while it does this, which is completely normal.
Check the summary. You’ll see progress on screen, including whether it detects a neutral wire. When it’s done, a summary appears. If it all looks right, press Yes, continue.
Tell Tap which bulbs are dimmable. For each connected circuit, answer Yes or No.
Set a maximum brightness. If you answered Yes, you can choose the brightest level those lights will ever reach. This is handy if your bulbs are too bright for the room. Drag your finger along the bar to the level you want, then press Save.
Finish up. When every circuit is set up, you’ll see the All Done screen. Press Finish.
That’s your Wall Dock set up. Next, connect Tap to the Tewke app (see our app setup guide).
If something isn’t right
Lights won’t come on? Switch the breaker off and check the wires are in the right terminals and secure, and that Neutral and L1 are linked. Then check your bulbs are compatible and meet the 30W minimum load.
Flickering or unexpected behaviour? Please contact Tewke support or a qualified electrician before going any further.
As a reminder, don’t connect Tap to motors, fans or wire-wound transformers. Make sure the bulbs connected to L1 are dimmable and don’t try to dim non-dimmable lights, as this can damage the device.
Need a hand?
Our support team is happy to help. Get in touch here.