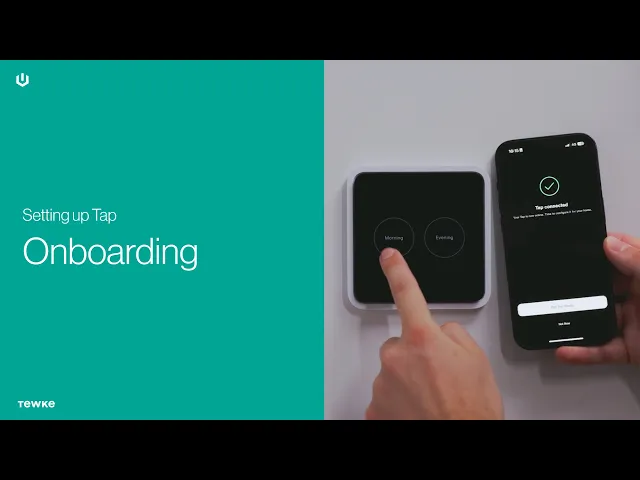
Onboarding
Once your Tap is installed and the Wall Dock is configured, it’s time to connect your device to Wi-Fi through the Tewke app, create your first room and set up your first Scene.
What you’ll need
The Tewke app, installed and set up (see the previous guide)
Your Wi-Fi password
Bluetooth enabled on your phone. It’s only needed during this initial setup.
Check before you start
Your Tap screen should show one circle for each lighting circuit, with a message asking you to swipe up to start. Touch a circle and the matching lights should switch on and off. If they do, you’re ready to go.
Step 1: Connect Tap to the app
On your Tap screen, swipe up where you see the arrow. You’ll see a “Welcome to Tewke” message with a QR code.
In the Tewke app, press Add Tap on the home screen.
Scan the QR code on your Tap’s screen with your phone.
Your phone will now connect to Tap using Bluetooth. If the app asks you to turn Bluetooth on, go ahead.
Step 2: Connect Tap to Wi-Fi
The app will ask you to connect to Wi-Fi. Press Start Wi-Fi Scan.
Tap will search for nearby networks and show them on screen. Choose yours and press Connect, entering your Wi-Fi password if asked.
After a short “Connecting” screen, the app will show “Tap Online”. Your Tap screen will also confirm it has joined your Wi-Fi and ask you to carry on in the app.
If Tap won’t connect, see our troubleshooting guide.
Step 3: Create your first room
Every Tap has to be assigned to a room, so the app will ask you to create one first.
In the app, press Start.
Press Create new room.
Give your room a name, such as “Kitchen”, and choose a matching room type. Room types help Tewke optimise your energy use in future.
Press Create room.
Back on the Select Room screen, touch the name of your new room and press Select Room. You can also create more rooms from here.
Tip: If you plan to link Taps for two-way or three-way switching, such as at the top and bottom of a stairwell, assign those Taps to the same room in the app.
Step 4: Name your Tap and your lights
When the Tap Created screen appears, press Start Configuration.
Give your Tap a name. If it’s the only one in the room, the default is probably fine. If you’ll have several, choose names that are easy to tell apart. You can change it later. Press Next.
Name the lights wired to that Tap. The defaults may be all you need, but labels like “ceiling lights” or “wall lights” are more helpful later. Repeat for each light, then press Next.
Step 5: Create your first Scene
Scenes let you group lights together and switch them on at a preset brightness. When you reach the Create Scenes screen, you’ll probably see two Scenes on your Tap already, shown as a sun and a moon. They turn all of your lights on or off, with the sun brighter than the moon.
Press Create Scene.
Give your Scene a name, such as “Ceiling Lights”.
Touch the names of the lights you want this Scene to control.
Set the brightness you want for each light.
Press Create.
Want more Scenes? Create them now, or press Next to carry on.
The app will show a picture of your Tap with your new Scene at the top left. Use the plus and minus icons to add or remove Scenes, and drag them to change the order.
When you’re happy, press Finish setup.
Additional step: the Control Bar
The app will now offer to customise your Control Bar. You can set that up now or just press Keep my Tap simple for now and return to this set up later.
All done
Congratulations, your first Tap is up and running. You’ll see it on the app’s home screen, with the Scenes you set up for that room listed underneath.
Next up: Creating and managing Scenes.